Try generated app
As soon as you have chosen to generate a sample resource when generating your RESTX app and once you have properly imported the app in your IDE, you are ready to try out your app.
These instructions only work if you answer YES to the question "generate hello resource example".
Still you will find information relevant for any RESTX app.
Launch the app
Locate the <your.main.package>.AppServer class in the src/main/java directory, and run it from your IDE as a regular Java application.
Alternatively, you can use the shell to run the app with restx app run.
You should see something like this in your IDE console:
21:57:46.692 [main             ] INFO  org.eclipse.jetty.server.Server - jetty-8.1.8.v20121106
LoginService=HashLoginService[null] identityService=org.eclipse.jetty.security.DefaultIdentityService@4f961bac
21:57:47.260 [main             ] INFO  restx.RestxMainRouterFactory -
--------------------------------------
 -- RESTX READY
 -- 2 filters
 -- 15 routes
 -- for admin console,
 --   VISIT http://localhost:8080/api/@/ui/
 --
First contact: the admin web console
Admin Console
As the console invite you to do, open http://localhost:8080/api/@/ui/ in your browser.
It will first prompt for a user and password. The default user to use is admin, and you should have provided the password during app scaffolding. If you don’t override the default password in your app, the default one is juma. Check the security doc for details on restx security feature.
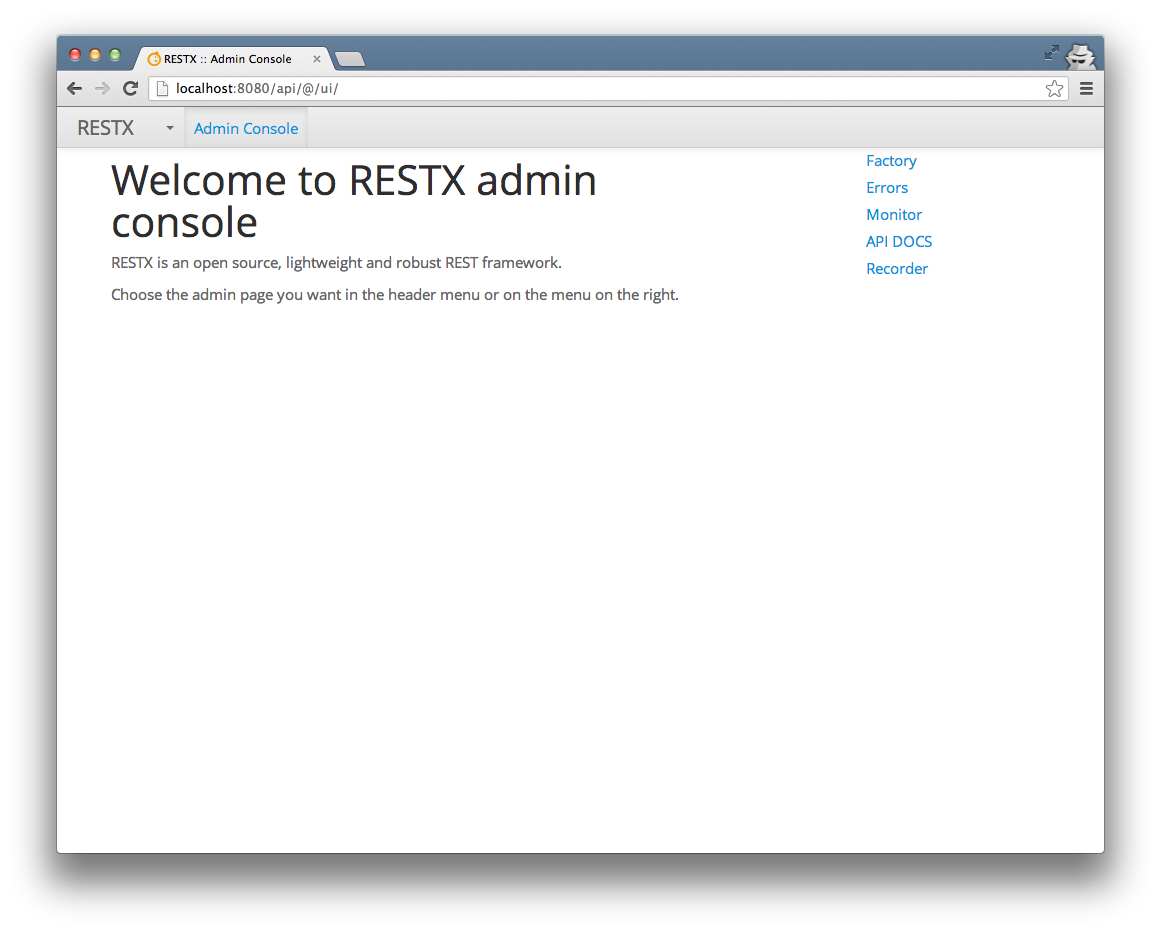
Once logged in, you should see the RESTX admin console home:
API DOCS
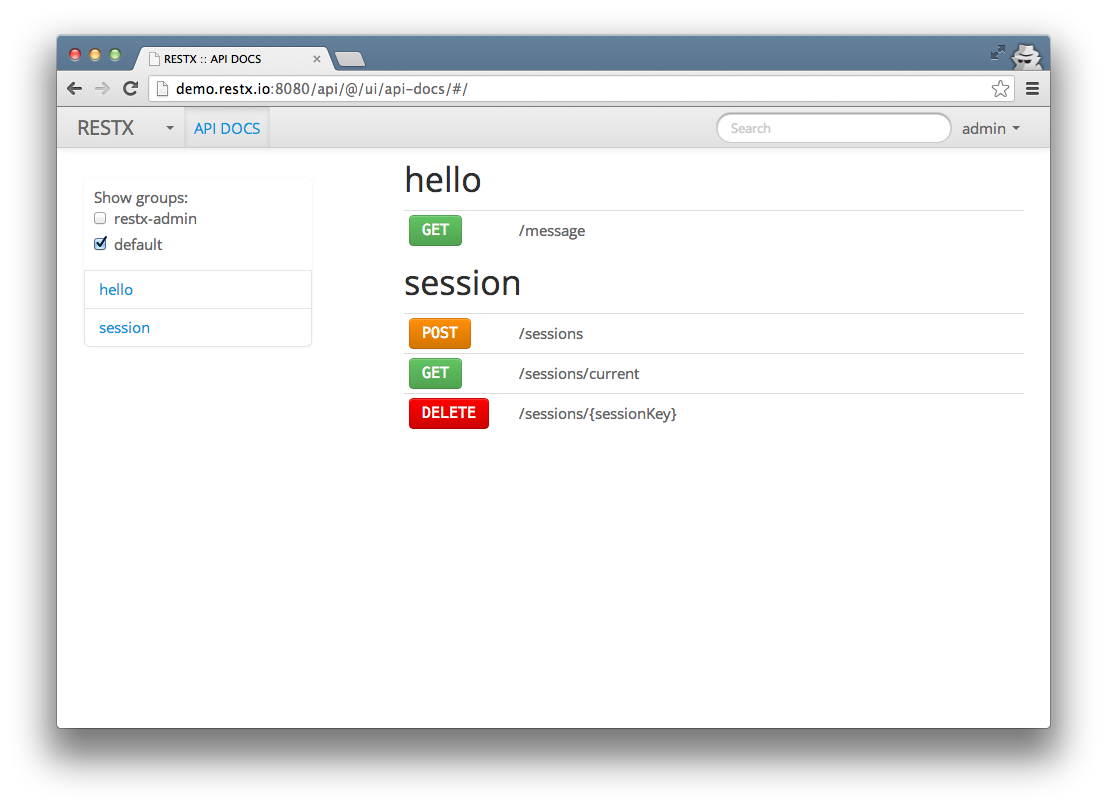
Then go to the API DOCS page, as you can see it’s listing several resources already available in your app:
The routes starting with `/@/` are used for the admin console.
This is a reserved path in RESTX, as long as you want to benefit from the admin console which is optional. To get rid of it you just need to remove dependencies on all the admin modules.
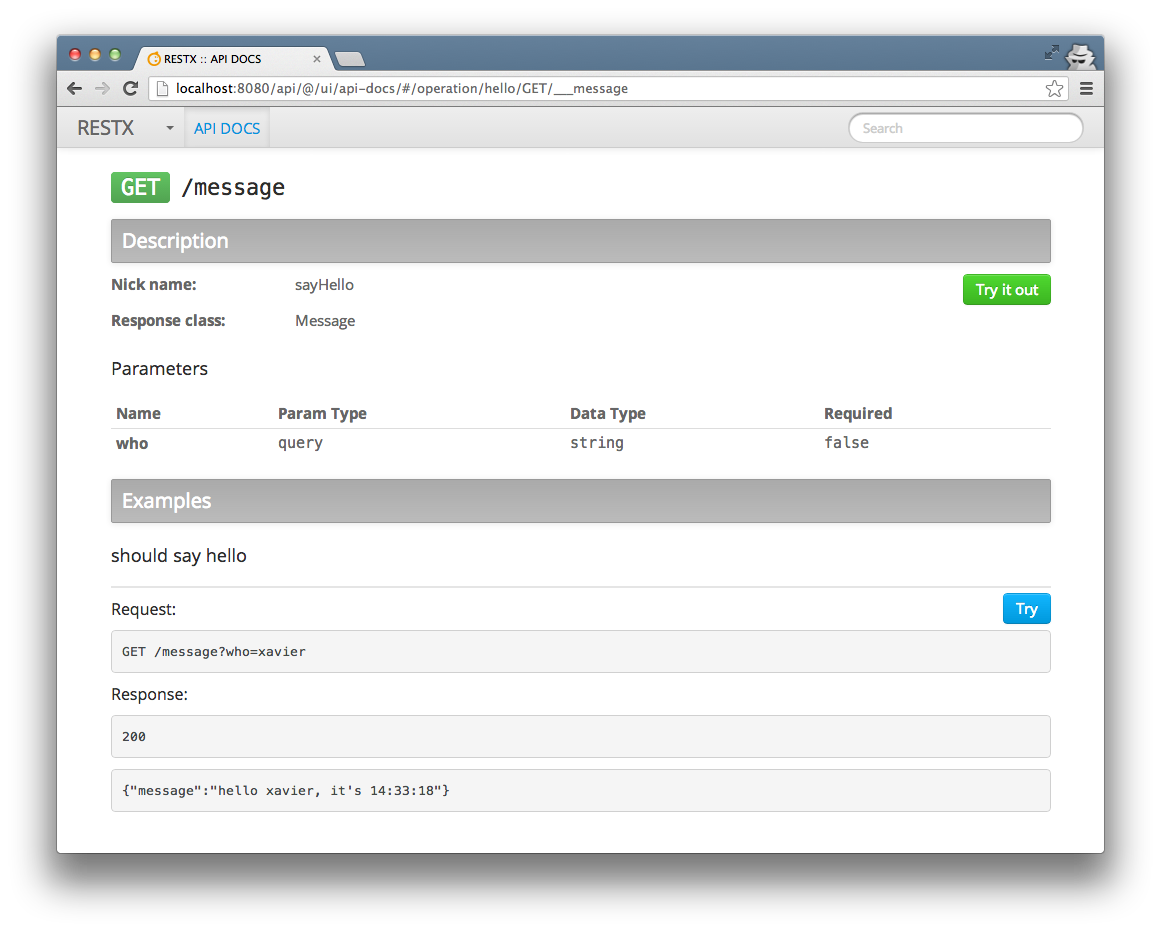
Now select the /message resource, the generated documentation tells you that this resource takes a query parameter called who, of type String. Note also the example which gives you an example of request and corresponding response:
If the /message route is missing, double check your IDE setup, and especially the annotation processing settings.
Trying out the /message resource
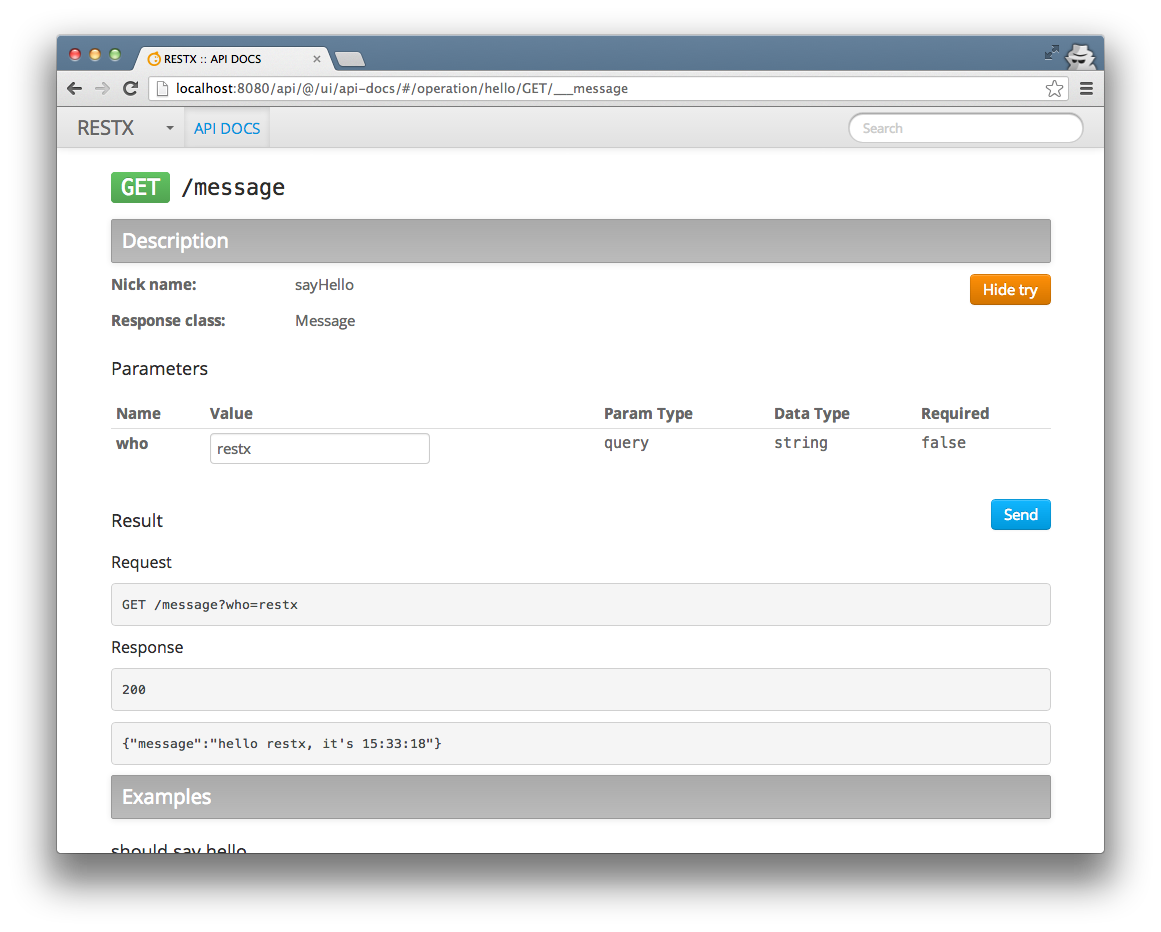
Now you can try it out, use the Try it out button at the top of the page, and you will be able to provide the desired value for the query parameter, and see the result:
For Linux/MacOS users you can also try it out from the command line using curl or httpie. You need to first authenticate and then use the API.
RESTX by default uses md5 hashed password to avoid sending passwords in clear text.
This doesn't mean you don't need to secure your connection in production with HTTPS, and encrypt/hash passwords with salt when storing them in database. RESTX has very good support for that by the way.
To compute the md5 of your password RESTX shell provides a convenient `restx hash md5 [whatever]` command.
With curl:
$ curl -b u1 -c u1 -X POST -H "Content-Type: application/json" -d '{"principal":{"name":"admin","passwordHash":"1d528266b85cf052e9a4794803a57288"}}' http://localhost:8080/api/sessions
{ "key": "099aee8b-a6a5-4199-8637-751763ad444a", "principal": { "name": "admin", "roles": [ "restx-admin" ] } }

$ curl -b u1 "http://localhost:8080/api/message?who=restx"
{"message":"hello restx, it's 15:53:23"}%
With httpie:
$ http --session=u1 POST "http://localhost:8080/api/session" principal:='{"name":"admin", "passwordHash":"1d528266b85cf052e9a4794803a57288"}'
HTTP/1.1 200 OK
Cache-Control: no-cache
Content-Length: 171
Content-Type: application/json; charset=UTF-8
Expires: Thu, 01 Jan 1970 00:00:00 GMT
Server: Jetty(8.1.8.v20121106)
Set-Cookie: RestxSession="{\"_expires\":\"2013-08-20T15:06:21.597+02:00\",\"principal\":\"admin\",\"sessionKey\":\"099aee8b-a6a5-4199-8637-751763ad444a\"}";Path=/
Set-Cookie: RestxSessionSignature="guWNXW91uiKfpjQ0nbCXk0QXNV8=";Path=/

{
    "key": "099aee8b-a6a5-4199-8637-751763ad444a",
    "principal": {
        "name": "admin",
        "roles": [
            "restx-admin"
        ]
    }
}

$ http --session=u1 "http://localhost:8080/api/message?who=restx"
HTTP/1.1 200 OK
Cache-Control: no-cache
Content-Length: 40
Content-Type: application/json; charset=UTF-8
Server: Jetty(8.1.8.v20121106)

{
    "message": "hello restx, it's 15:53:52"
}
Since this is a GET request, you can also simply open the URL in your browser (in a browser where you are already authenticated): http://localhost:8080/api/message?who=restx
RESTX also supports HTTP Basic authentication, as soon as you provide the password md5 and not the password itself you should be able to use it conveniently with `curl` or `httpie`
Monitoring
Now go to the monitoring page in the console, you will get a page listing a set of elements which are monitored:
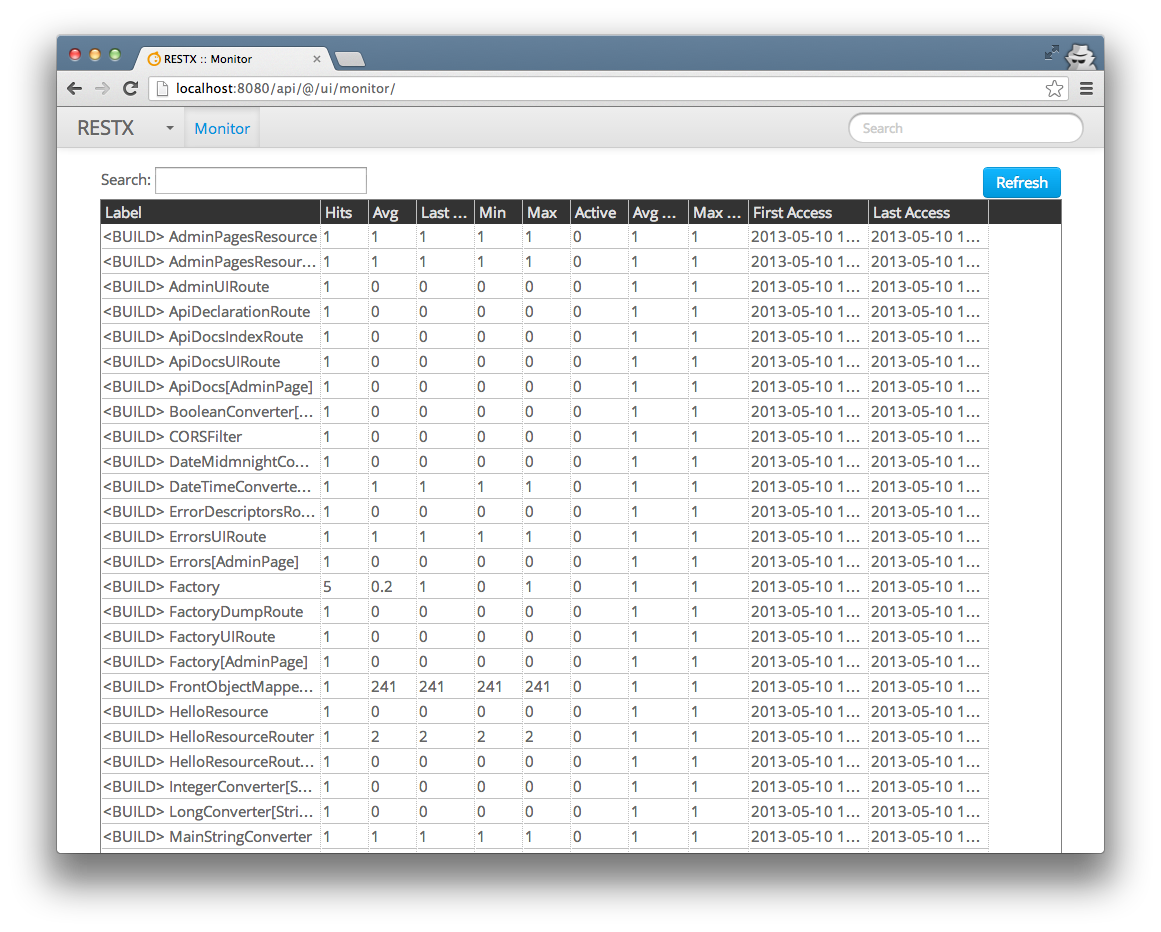
You have mainly 2 categories of elements monitored by default:
<BUILD>corresponds to instanciation of the components of your application. Most components being instantiated at startup time, this is useful to track which components is responsible for slowing down your app startup time. The time you see in thelastminandmaxcolumns are in ms, and corresponds to the component instanciation, without taking into account its dependencies instanciation (so that it’s easier to track down components actually taking time to instanciate).<HTTP>corresponds to HTTP requests handled by RESTX. The time indicated in thelastminandmaxcolumns are in ms, and corresponds to the time spent to handle the request in RESTX. This does not take into accound HTTP container time (servlet container or other container).
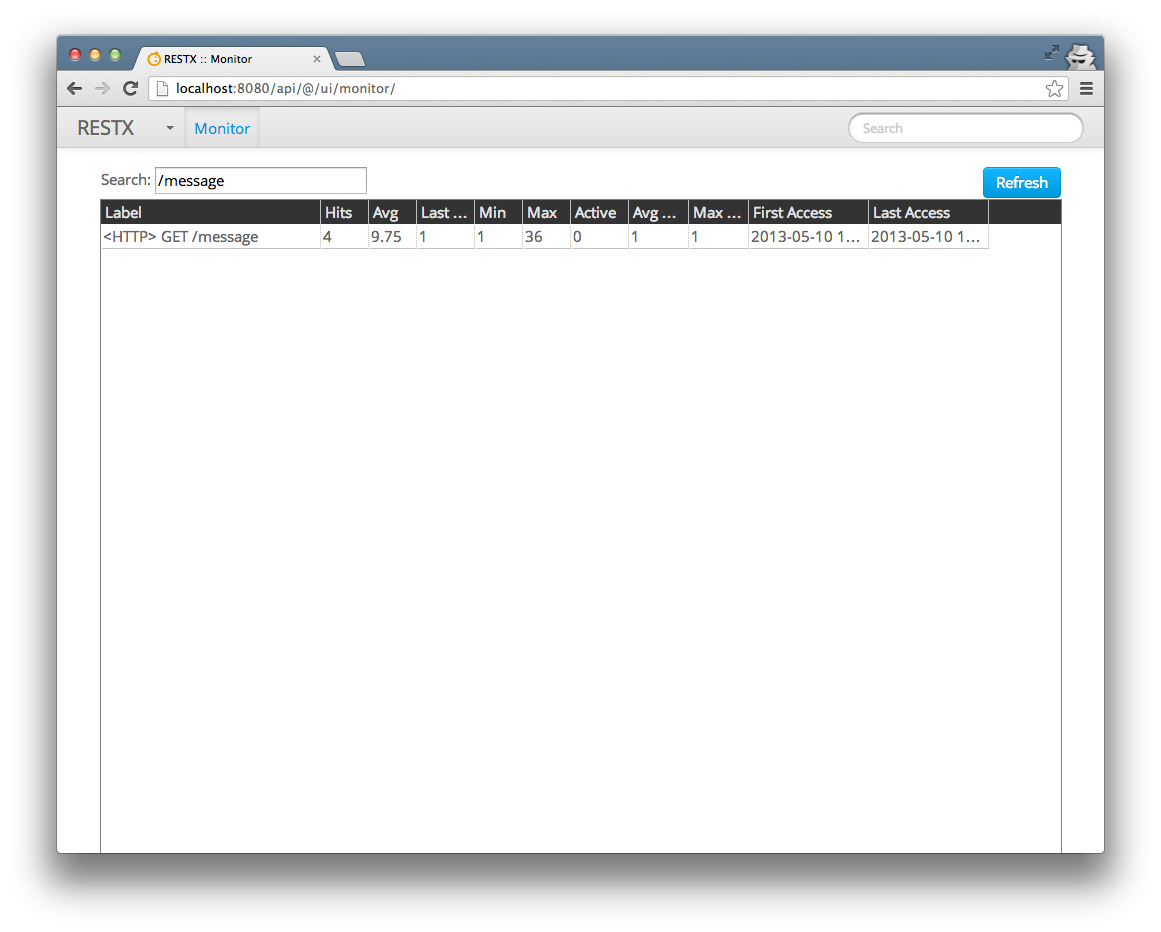
Using the search box in the upper left you can easily filter lines based on the content of their Label column, so if you want only <HTTP> elements you just need to type HTTP.
For instance you can search for /message and you will see performance information for the /message resource:
Launching tests
The generated app contains an integration test for the simple resource defined. You can launch it by opening the <your.main.package>.rest.HelloResourceSpecTest class as a junit test.
You should see something like that:
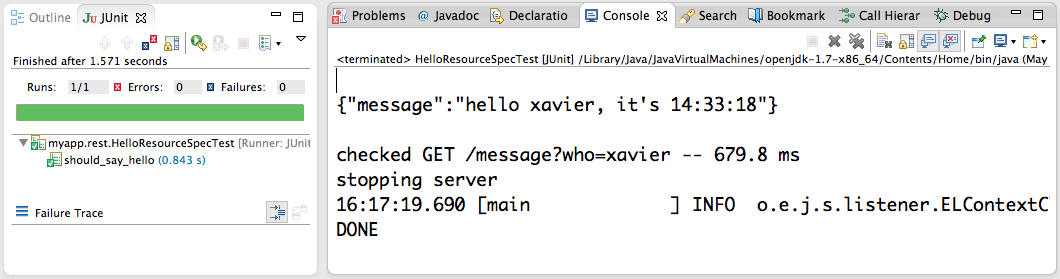
Obviously you can also run the tests from your build tool. Both Maven and EasyAnt are supported out of the box, setting up other build tools should be really easy, RESTX is pure Java and tests are regular JUnit tests.
Open issues or submit pull requests if you want to get more build tools supported out of the box.
Now that you have tried the generated app, it’s time to understand its sources.